3 to 4 Inch Lifts: Homeowners' Map Based Soil Compaction for Pavers
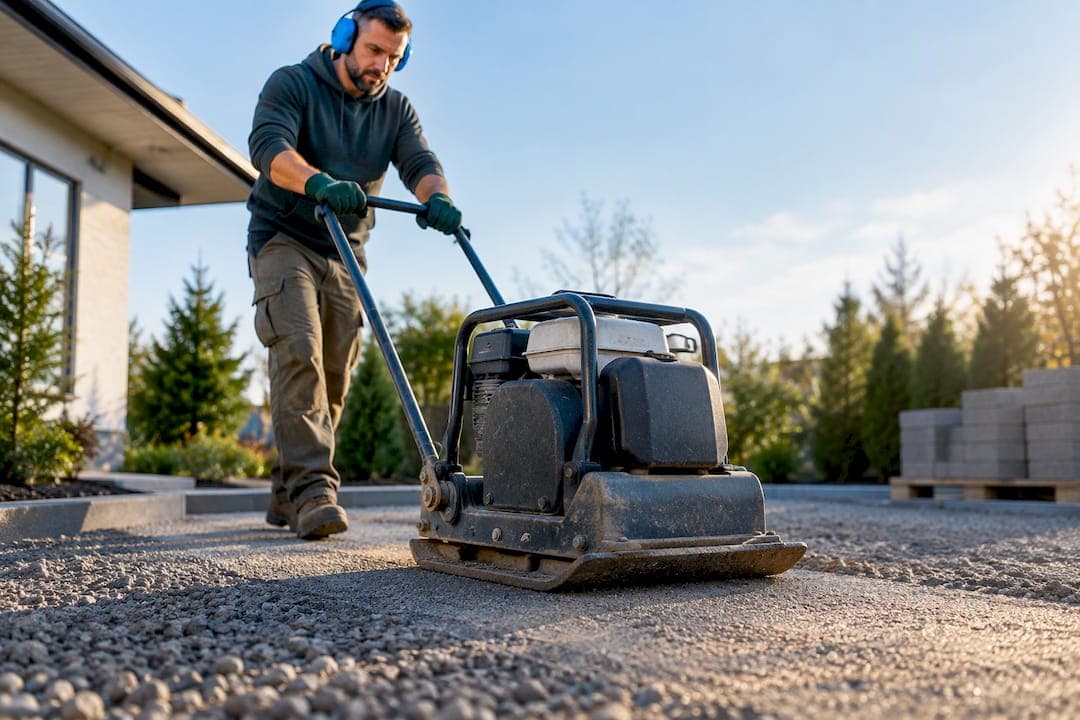
Yes: compact the subgrade and granular base in 3 to 4 inch lifts at the right moisture using a plate compactor or hand tamper, then screed your bedding sand. Skipping this step is the single biggest reason paver patios and walkways sink, shift, or separate at the joints within a year or two. Test your soil’s moisture first, then match your compactor to the job before you spread a single scoop of base material.
TL;DR:
- Proper compaction in thin lifts and moisture control are crucial to prevent settlement, edge failure, and joint widening that cause long-term paver issues.
- Soil testing with the ribbon and squeeze methods quickly identifies whether to excavate deeply or add water, especially if water persists after a test hole.
- Using the correct material gradation and layer depth—4 to 6 inches for patios, up to 12 inches for driveways—ensures sufficient load support and drainage.
- A plate compactor is the most effective tool for large or moderately sized projects, with adjustments made for lift thickness and material compatibility to optimize results.
- Planning with precise site measurements and material estimates reduces costs and improves outcomes, especially when hiring contractors or renting equipment.
Table of Contents
- Why compaction matters for paver performance
- Assess the site and soil before compacting
- Materials and layer depths for patios and driveways
- Choosing and using a hand tamper, plate compactor, or roller
- Step-by-step compaction process for DIY projects
- Common problems and fixes during compaction
- How Property Improvement Estimator helps plan compaction scope
- Should you DIY this or call a pro?
- Sources
- FAQ
Why compaction matters for paver performance
Compaction and density are not the same thing, and mixing them up causes a lot of bad backyard work. Compaction is the mechanical process of forcing soil or aggregate particles closer together. Density is what you measure afterward, the mass of material packed into a given volume. Two bases can read a similar density on paper and still behave very differently once traffic and water hit them, because gradation and moisture content change how those particles lock together, according to Iowa State’s pavement subbase guidance.
When compaction falls short, the failures show up in predictable ways:
- Settlement: loose pockets under the pavers compress under foot and vehicle traffic, creating dips.
- Edge failure: pavers at the border shift outward because the base never locked together at the perimeter.
- Interlock loss: joints widen and sand washes out, so the whole surface starts to rock underfoot.
- Poor drainage: water pools instead of shedding, softening the base further and accelerating every other problem.
You can usually spot trouble before it gets expensive. Watch for a hollow or springy feel when you walk across freshly laid base material, visible puddling after a light rain, and pavers that rock slightly when you step on one corner. Any of those three signs means the base underneath never reached the density it needed, and catching it now is far cheaper than lifting pavers later.
Assess the site and soil before compacting
Not all soil compacts the same way, and figuring out what you are working with takes two minutes with your hands. Granular soils (sand, gravel, crushed stone) compact through particle interlock and drain well. Cohesive soils (clay, silt) hold water, resist compaction, and can fail if you try to force them when saturated, per FHWA’s ground improvement guidance.
- Run the ribbon test: squeeze a moist handful of soil and try to push it out between your thumb and forefinger. If it forms a long, smooth ribbon, you are dealing with clay. Granular soil crumbles apart instead.
- Do the hand-squeeze moisture check: grab a handful of subgrade soil and squeeze it. It should hold a loose shape without dripping water or crumbling to dust. Too wet, let it dry a day or two before compacting. Too dry, add water lightly and retest.
- Dig a small test hole: eight to ten inches deep tells you whether the poor soil is a thin surface layer or runs deep enough to require removal and replacement.
- Decide on stabilization: if the native soil is soft clay or organic fill more than a few inches deep, plan to excavate it out and replace it with compactable granular aggregate, sometimes over a geotextile fabric to keep the layers from mixing.
Pro Tip: If your test hole fills with water and stays wet overnight, you have a drainage problem that compaction alone will not fix, address the grading or add drainage before you build up the base.
Materials and layer depths for patios and driveways
Once the subgrade checks out, the base stack is what actually carries the load. A typical assembly runs from coarse aggregate at the bottom to fine sand at the top:
- Subbase: crusher run or road base (a graded mix of crushed stone and fines) compacted in lifts.
- Base: a similar or slightly finer graded aggregate, sometimes clear stone where drainage is the priority.
- Bedding sand: a thin, uncompacted layer of coarse sand, screeded flat just before the pavers go down.
Thickness depends heavily on what the surface needs to carry. A pedestrian patio generally needs a total subbase and base thickness of around 4 to 6 inches, while a driveway that sees vehicle loads typically calls for 8 to 12 inches of properly graded aggregate, because repeated wheel loads demand far more support than foot traffic. This lines up with CMHA’s recommendation to compact pedestrian areas to standard Proctor density and vehicular areas to the higher modified Proctor standard.
Gradation matters as much as depth. Well-graded aggregate, meaning a mix of stone sizes rather than uniform gravel, compacts tighter and still drains because the void spaces stay connected. Over-compacting or using aggregate with too many fines can crush particles into dust that clogs those voids and traps water under the pavers, an effect Iowa State’s research flags directly. If you are sizing material for a driveway base, our asphalt material cost calculator can help translate depth and area into the crushed stone quantities you will need to order.
Choosing and using a hand tamper, plate compactor, or roller
Matching the tool to the job saves both your back and your base. A hand tamper works fine for small repairs, tight corners, or areas under 50 square feet, but it cannot deliver consistent compaction across a full lift thickness on anything larger, and relying on one for a whole patio usually leaves soft spots.
A plate compactor is the right call for the vast majority of DIY paver projects:
- Reversible plate compactors in the moderate weight range handle 3 to 4 inch lifts well and are the standard rental for backyard patios and walkways.
- Forward-plate compactors are lighter and cheaper to rent but need more passes to hit the same result.
- Add a protective pad to the plate once pavers are down, compacting bare pavers without one risks chipping and cracking the surface.
Heavy rollers belong on large driveway or commercial jobs where a contractor is compacting hundreds of square feet of subgrade at once. They are overkill, and often impractical to maneuver, in a typical residential backyard.
Pro Tip: Rent a plate compactor with a vibration frequency suited to your lift thickness rather than just the heaviest unit on the lot, a properly matched machine compacts faster and with less risk of over-working the surface. Before you book the rental, our asphalt labor cost calculator can help you estimate how many hours of equipment time a given base prep job actually needs.
Whatever machine you use, wear hearing and eye protection, keep hands and feet clear of the plate while it is running, and never operate a compactor on a slope steep enough that it could tip or slide.
Step-by-step compaction process for DIY projects
Getting this right is mostly about sequence and patience, not brute force.
- Spread the first lift: 3 to 4 inches of loose aggregate, no deeper, spread evenly across the excavated area.
- Check moisture: the hand-squeeze test should hold a shape without dripping; lightly mist dry material with a garden hose if needed.
- Compact in overlapping passes: run the compactor in rows that overlap the previous pass by about half the plate’s width, then run a second set of passes at 90 degrees to the first direction.
- Repeat for each lift: never place a new lift until the one beneath it is fully compacted, compacting a thick layer all at once only densifies the surface and leaves the bottom loose.
- Check the surface with a straightedge: lay a long, straight board across the compacted base and look for gaps. Small dips are normal, but persistent low spots more than about a quarter inch deep signal an area that needs more passes or added material.
- Screed the bedding sand: once the base lift is compacted and level, spread bedding sand and screed it flat without compacting it, this layer is meant to stay loose so pavers can settle into it evenly.
Thin lifts are not optional. Compacting anything thicker than about 4 inches at a time only densifies the top few inches and leaves the material underneath loose, according to Iowa State’s embankment moisture control guidance, which is exactly the kind of hidden weak spot that shows up as settlement a season later.
Getting the compactive effort right matters as much as the number of passes. CDOT’s soils and embankment inspection manual notes that achieving lab-tested density in the field depends on matching compactive energy to near-optimum moisture, which is exactly what the hand-squeeze test is checking for before you start each lift.
If a section still feels springy after four or five passes at a proper moisture level, stop and investigate rather than continuing to run the compactor over it. Persistent softness usually means trapped moisture or an underlying soft spot that more passes will not fix, and it is worth calling in a professional soil test if you plan to pave a driveway over that area.
Common problems and fixes during compaction
Most compaction headaches trace back to one of a handful of causes, and each has a fairly direct fix.
- Clay subgrade: excavate it out where possible and replace with compactable granular aggregate; where full removal is not practical, improve drainage around the area so water cannot pool against the clay.
- Material too wet: stop compacting and let it dry, aggressive passes on saturated soil just push the water sideways instead of densifying anything, and can make the surface worse.
- Material too dry: lightly mist with water and retest with the hand-squeeze method before running the compactor again.
- Poor gradation: swap in a well-graded aggregate mix if the base keeps generating excess fines or refuses to lock together under the plate.
- Localized settlement after installation: for small dips, lift the affected pavers, add and compact fresh base material, then reset them; for widespread sinking across a large area, a full rebuild of that section is usually more reliable than repeated patching.
Frost is worth planning around too. In climates with real winter freeze-thaw cycles, an undersized or poorly compacted base is far more likely to heave, so err toward the thicker end of the depth ranges if your site holds moisture through winter.
How Property Improvement Estimator helps plan compaction scope
Getting the base right starts with knowing exactly how much material you need, and that is where planning tools save real time. Property Improvement Estimator lets you draw your patio or driveway footprint directly on a satellite map of your property, so the dimensions you use for compaction math match your actual site instead of a rough guess.
- Draw the project area on the map to calculate the square footage and translate that into subbase, base, and bedding sand volumes.
- Run the numbers through a calculator to turn your chosen depth and area into material quantities and rental time for a plate compactor.
- Generate a contractor handoff package with your map, layer thicknesses, and compaction targets, so any bid you request is based on your project’s real scope instead of a generic estimate.
That last step matters most if you plan to hire out the base work even after doing your own research. Handing a contractor a scoped map and target specs, rather than a verbal description, tends to produce a tighter, more comparable quote.
Should you DIY this or call a pro?

If you have a small patio on decent granular soil and access for a rental plate compactor, this is a very doable weekend project. Clay subgrade, a full driveway, or a site with standing water after rain are all situations where hiring a contractor with the right equipment and experience saves you a rebuild later.
Before you start, run through this list: lift thickness at 3 to 4 inches, moisture checked by hand, the right compactor for your area size, a straightedge check on every lift, and solid edge restraint once the pavers go down. None of these steps costs much, and every one of them is cheaper than pulling up a settled patio.
— Christian
Sources
For readers who want the underlying technical references, Iowa State’s subbase design guidance covers gradation and density; FHWA’s ground improvement manual covers soil-specific compaction methods; CDOT’s inspection manual covers moisture and field testing.
- Section 6F-1 - Pavement Subbase Design and Construction (Iowa State)
- FHWA Manual on Ground Improvement / Dynamic Compaction (FHWA)
- CDOT Soils, Excavation, and Embankment Inspection Manual
FAQ
How much will pavers settle after compacting?
A properly compacted base in thin lifts at correct moisture should leave minimal settlement, since most of the compression has already happened before the pavers go down. Skipping thin-lift compaction is what leads to noticeable settlement later, as material that looked fine on the surface compresses under traffic over time.
Should you wet paver base before compacting?
Yes, aggregate compacts best at a moisture level close to optimum, checked with a simple hand-squeeze test that should hold a loose shape without dripping. Material that is bone dry will not lock together well under a compactor, so a light misting before compaction usually helps.
Should you use a compactor on pavers?
You should compact the base layers before laying pavers, then run a plate compactor with a protective pad over the finished pavers to seat them into the bedding sand. Never compact bare pavers without a pad, since the direct contact can chip or crack the surface.
How to compact pavers without a plate compactor?
A hand tamper can work for small areas under about 50 square feet or for tight spots a plate compactor cannot reach. For anything larger, a hand tamper cannot deliver the same consistent density across a full lift, so renting a plate compactor is worth the cost for most patios and walkways.