Homeowners: Plan a Backyard Layout With Map Based Estimates
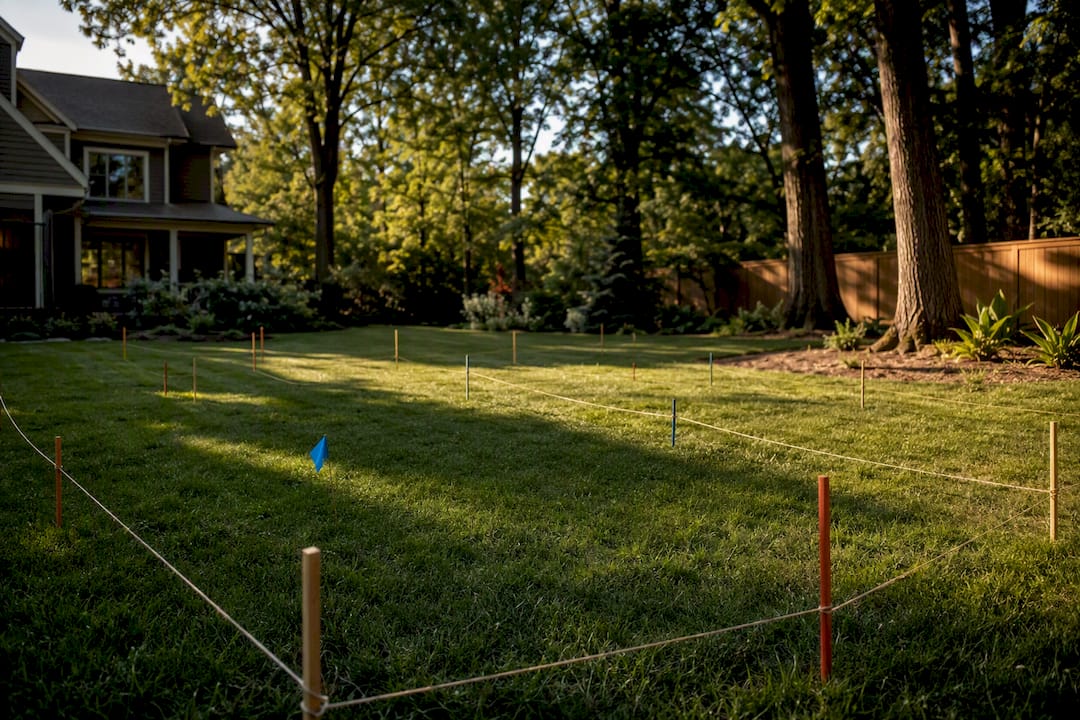
The fastest way to plan a backyard layout is to measure your yard, block it into zones for how you’ll use each area, then test scaled versions with a digital planner or map-based estimator like Property Improvement Estimator before buying materials. That sequence turns a vague idea into a scaled plan you can hand to a contractor or build from yourself. Most backyards support a patio between 200 and 300 square feet, with a 10-foot clearance around any fire pit, so those two numbers alone will shape half your layout decisions.
TL;DR:
- Most backyard patios should remain within 200 to 300 square feet, with a 10-foot clearance around fire pits and main paths of at least 48 inches.
- Accurate measurements of property lines, fixed features, and sunlight patterns are essential to create a realistic, functional scaled layout.
- Zone-first planning, including dividing the yard into purpose-built areas before decoration, prevents cramped designs and simplifies flow calculations.
- Digital tools like 2D sketches, 3D visualizers, and map-based estimators help refine the layout, with map-based planners providing contractor-ready measurements.
- Hardscape, plantings, drainage, and lighting should be phased over multiple years, with detailed scaled plans reducing scope creep and improving bid accuracy.
Table of Contents
- What to Gather Before You Plan Your Backyard Layout
- How Do You Turn Measurements Into a Scaled Layout?
- What Size Patio or Zone Do You Actually Need?
- Which Digital Tool Should You Use to Draw Your Layout?
- What Drives Your Backyard Budget and How Should You Phase It?
- How Does a Map-Based Estimator Turn Your Plan Into a Real Quote?
- Why Sunlight and Shade Should Shape Your Layout Before Anything Else
- What Should You Check in Your Soil and Terrain Before Building?
- How Do You Choose Plants That Actually Survive in Your Yard?
- How Should You Plan Irrigation and Drainage Together?
- What Lighting and Electrical Needs Should You Plan For?
- What Safety and Accessibility Details Should Your Plan Include?
- DIY Planning Versus Hiring a Pro: Where the Line Actually Sits
- Turn Your Backyard Layout Into a Contractor-Ready Estimate
- Sources
- FAQ
What to Gather Before You Plan Your Backyard Layout
A rushed measurement session is the reason most DIY layouts get redrawn three times. Spend 30 minutes collecting real numbers before you sketch anything.
- Measure your property lines, the exact length of your house wall, and the position of every door, window, and downspout.
- Take photos of the yard at morning, midday, and evening to see where sun and shade actually fall, plus where water pools after rain.
- Write two lists: must-haves (a dining patio, a fence) and nice-to-haves (a fire pit, a play area).
- Note fixed clearances you’ll need later, including a roughly 10-foot buffer around fire pits and path widths of about 48 inches for main routes and 36 inches for secondary ones, according to SpacePlanner’s backyard planning guide.
Pro Tip: Photograph your yard from an upstairs window if you have one. That bird’s eye angle makes it much easier to eyeball proportions than standing at ground level.
How Do You Turn Measurements Into a Scaled Layout?
Once you have real numbers, the process of drawing a workable plan comes down to four repeatable moves.
- Measure with a tape measure or laser distance tool, and record every dimension in feet and inches rather than rounding. Note the location of utility lines, tree roots, and anything permanent you can’t move, like a septic tank or drainage swale.
- Sketch to scale using a simple ratio you can hold in your head, such as 1/8 inch equals 1 foot for a typical quarter-acre lot, or 1:50 if you’re working in metric. Graph paper works fine for a first pass; a digital tool makes revisions painless.
- Zone before you decorate. Block out rough rectangles for your outdoor rooms first, dining, lounge, play, and utility, before placing a single chair or plant. Designers call this a zone-first approach: divide the yard into purpose-built areas and observe sun, shade, drainage, and traffic patterns before placing objects, according to OurGardenWorks’ backyard design guide. Skipping this step is the single most common reason DIY layouts feel cramped once built.
- Test flow and safety clearances. Draw your main path connecting the house to the largest zone, then check it against the 48 inch minimum. Draw a secondary path to a side gate and check it against 36 inches. If a path or zone doesn’t fit once you draw real widths, shrink your wish list rather than squeezing objects together, a principle SpacePlanner calls sizing to fit rather than forcing.
Before finalizing anything, mark your yard’s slope direction and any low spots. Grading matters more than most first-time planners expect, and it’s far cheaper to solve on paper than after a patio is poured.
What Size Patio or Zone Do You Actually Need?
Size decisions drive nearly every dollar you’ll spend, so get this right before you touch a shovel. Most homeowners land on a patio between 200 and 300 square feet, with common square footprints of 15 by 15 feet or 18 by 18 feet, according to Angi’s patio size guide. A useful rule of thumb: your patio should typically cover 10 to 20 percent of your total backyard area, and stay at or below 20 percent of your home’s square footage, so it reads as proportional rather than oversized.
| Patio Size Band | Typical Dimensions | Best Suited For |
|---|---|---|
| — | 8×10 or 10×10 ft | Small seating nook, bistro table for two |
| — | 12×16 or 14×14 ft | Dining set for four to six, small grill station |
| 200 to 300 sq ft | 15×15 or 18×18 ft | Full dining and lounge combo, most common size |
| 200 to 300 square feet | 18×20 or 20×20 ft | Dining, lounge, and fire pit zones together |
Before locking in a size, check it against your fixed clearances: a 10-foot buffer around any fire pit, a 48-inch main path, and gate widths of 36 to 48 inches for equipment access. Undersizing a patio to save money often backfires, since you end up unable to fit both a dining table and a lounge chair without bumping knees.
Which Digital Tool Should You Use to Draw Your Layout?
Not every planning tool solves the same problem, and picking the wrong one wastes hours. Three categories cover almost every DIY need.
- 2D sketch tools are fastest for rough layouts and testing zones. They’re the right starting point for beginners because mistakes cost nothing but a few clicks.
- 3D visualizers help you judge furniture scale, fence height, and how a pergola will actually look, but they’re slower to iterate, so save them for a nearly finished layout.
- Map-based planners and estimators use aerial imagery to lock in real-world scale, which matters once you need contractor quotes. Interactive planners that draw scaled plot boundaries and block out zones to scale help produce contractor-ready plans that reduce rework and improve bid accuracy, according to GardenPlanner. Templated tools with drag-and-drop symbols are fine for early ideation but often lack the georeferenced measurements a contractor needs for an accurate quote, a gap Canva’s landscape plan builder illustrates well since its symbols are stylized rather than scaled to your actual lot.
Pro Tip: Run your idea through all three stages in order, 2D first, 3D only if you’re unsure about visual impact, then a map-based tool for final measurements. Skipping straight to 3D usually means redoing the zoning work you should have settled first.
What Drives Your Backyard Budget and How Should You Phase It?
Material choice, site prep, drainage work, permits, and labor make up the bulk of any backyard budget, and grading alone can swing a project’s cost more than the finish material you pick. Concrete and pavers cost more upfront but need little maintenance; gravel is cheap and drains well but shifts over time; wood decking looks great but demands regular resealing.
- Year one: hardscape and major structural planting, since trees and large shrubs take the longest to mature and set the yard’s visual scale early, an approach OurGardenWorks recommends for exactly this reason.
- Year two: softscaping and irrigation, once the hardscape footprint proves out in daily use.
- Year three: amenities like a fire pit, outdoor lighting, or a pergola, added once the bones of the yard are settled.
A scaled plan pays for itself here because it produces an accurate material list instead of a guess. Contractors quoting off a real drawing with real dimensions tend to bid tighter and closer to final cost, since scaled plans reduce scope creep that otherwise inflates a project mid-build. If you’re weighing a deck against a patio, running both through a deck material cost calculator before committing shows the real cost gap fast.
How Does a Map-Based Estimator Turn Your Plan Into a Real Quote?
Once your zones and measurements are settled, the next step is converting that sketch into numbers a contractor can bid against. Some map-based estimation platforms let you draw project locations directly onto aerial imagery of your own property, which keeps every dimension tied to reality instead of a rough guess on paper.
- Draw the exact footprint of a deck, patio, pool, or fence on your property’s satellite image and adjust it until it matches your zoned plan.
- Get an immediate, locally adjusted price range without creating an account first, using certain online tools.
- Export the drawing, measurements, and project options into a packet contractors can bid against directly, cutting down the back and forth that usually stalls a project, when using supported platforms.
This step works best once you already have measurements and zones sorted, not before. Scaled plans consistently produce more accurate material lists and reduce contractor scope creep, which tightens bid quality and often lowers the final price you pay, a benefit directly tied to how the platform’s mapping tools are built. Christian, who has spent years watching homeowners struggle to translate rough sketches into bids that actually match what gets built, designed the platform’s workflow around that exact gap.
Why Sunlight and Shade Should Shape Your Layout Before Anything Else
Sun exposure decides more of your layout than most first-time planners realize, often more than the yard’s shape itself. Track how light moves across your yard for a full day, ideally in more than one season, since a spot that’s shaded in April can bake by July once deciduous trees fill in.
Dining and lounge zones generally do best with afternoon shade, especially in warmer climates where a west-facing patio can turn unusable by 4 p.m. in summer. A pergola, shade sail, or strategically placed tree can convert an unusable hot zone into the most-used part of the yard, but only if you plan for it before pouring concrete. Play areas for kids benefit from partial shade too, since sustained direct sun raises surface temperatures on synthetic turf and rubber mulch to uncomfortable levels.
Vegetable gardens and most flowering perennials need the opposite: six or more hours of direct sun, so don’t tuck a garden bed into the shady side of the yard just because it’s leftover space. Morning sun with afternoon shade is often the sweet spot for edible gardens in hotter regions, since it avoids the harshest midday heat while still delivering enough light.
Mark your sun and shade notes directly onto your scaled drawing before you finalize zones. A patio that looks perfectly placed on paper can become the least-used part of the yard if it faces west with no shade structure, while a shaded corner ignored in early sketches might turn out to be the best spot for a reading nook or dining set.
What Should You Check in Your Soil and Terrain Before Building?
Soil and slope quietly determine whether a project succeeds or turns into a drainage headache within the first year. Before finalizing any structure or planting bed, dig a simple test hole about a foot deep in a few spots around the yard and observe how quickly water drains after a good soak.
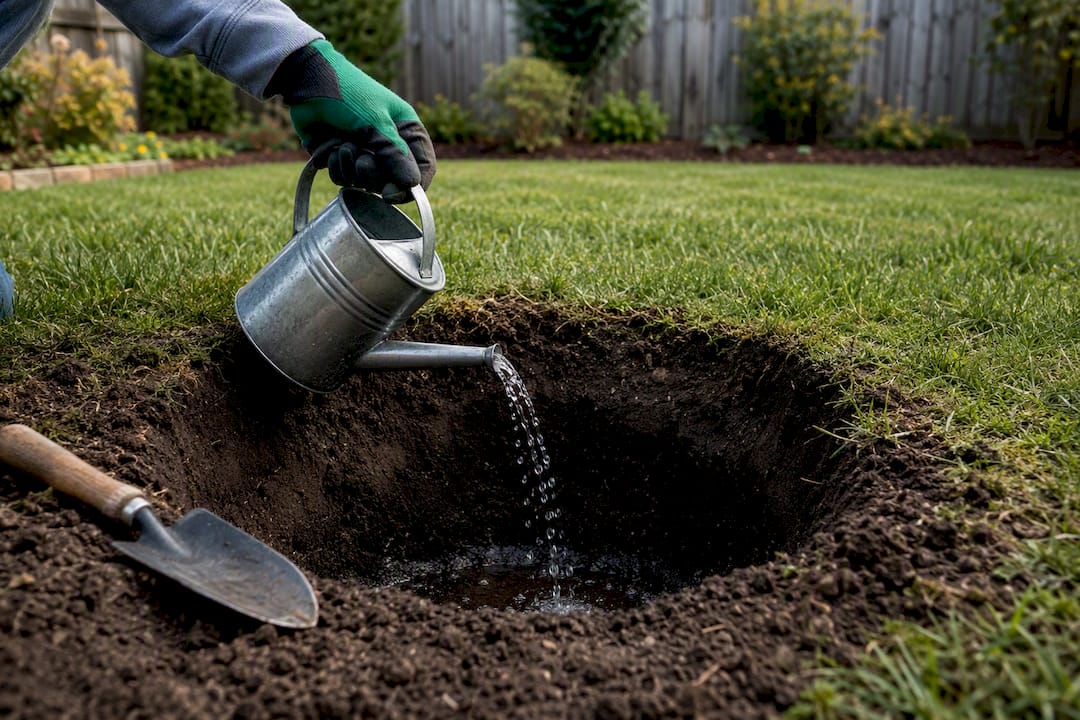
Heavy clay soil drains slowly and holds water near structures, which can undermine a patio base or rot a deck’s support posts over time. Sandy soil drains fast but struggles to hold nutrients for plants, meaning garden beds in sandy yards often need amended topsoil mixed in before planting anything permanent.
Slope matters just as much as soil composition. The ground should fall away from your house at roughly 6 inches over the first 10 feet to keep water moving away from the foundation rather than pooling against it, a benchmark SpacePlanner uses as a baseline for backyard drainage planning. If your yard slopes toward the house instead of away from it, that’s a grading problem to solve before any hardscape goes in, not after.
Terrain also decides where structures are even feasible. A deck built into a steep slope needs taller support posts and more complex footings than one built on flat ground, which raises both cost and structural complexity. Mark any slope changes, low spots, or drainage swales directly on your scaled plan so they carry through into every layout decision that follows.
How Do You Choose Plants That Actually Survive in Your Yard?
Plant selection fails most often for one reason: homeowners pick what looks good in a photo instead of what matches their actual climate and soil. Start with your USDA hardiness zone, since a plant rated for a warmer zone than yours will likely struggle or die back in winter, while one rated for a colder zone may simply underperform in heat.
Match plant water needs to the zone you’ve already mapped for sun and shade. Drought-tolerant natives make sense for exposed, sunny areas with sandy soil, while moisture-loving plants belong in low spots or near irrigation lines where water naturally collects. Native plant species tend to need less supplemental water and fewer pest treatments than imported ornamentals, since they’ve already adapted to local rainfall and soil patterns over generations.
Group plants by water needs rather than by appearance alone, a practice sometimes called hydrozoning. Mixing a thirsty hydrangea next to a drought-tolerant lavender means one of them is always getting the wrong amount of water. Trees deserve extra thought since they take the longest to mature and are hardest to relocate once established. Placing a large shade tree on your scaled plan early lets you design shade patterns for the next decade rather than reacting to where a tree happens to end up.
How Should You Plan Irrigation and Drainage Together?
Irrigation and drainage solve opposite problems, but planning them separately is a common mistake that leads to soggy lawns next to dying garden beds. Map both systems on the same scaled drawing you used for zoning, since pipe runs and drain lines need to avoid the same footings, paths, and utility lines you already marked.
Drip irrigation works best for garden beds and shrub rows because it delivers water directly to roots with minimal waste, while sprinkler zones still make sense for open lawn areas. Group irrigation zones by plant water needs, matching the hydrozoning approach from your plant selection, so one zone never overwaters part of a bed while underwatering the rest.
Drainage deserves equal attention, especially in any low spot identified during your terrain assessment. French drains, dry wells, or simple grading fixes can redirect water away from patios and foundations, but they need to go in before hardscape, not after. Retrofitting drainage under an existing patio is far more expensive than trenching it in during initial construction.
If you’re planning a paved patio or deck, check that surface water has somewhere to go once it hits that surface. A patio built flat with no slope, even a subtle one of an inch or two over its width, will pool water in the wrong weather and eventually crack under freeze thaw cycles in colder regions.
What Lighting and Electrical Needs Should You Plan For?
Lighting is easy to bolt on as an afterthought, but planning for it early saves you from trenching wire through a finished patio later. Map out where you need light for safety, paths, steps, and any grade changes, separately from where you want light for atmosphere, like string lights over a dining zone or accent lighting on a tree.
Low-voltage landscape lighting handles most path and accent needs without requiring a licensed electrician, making it a reasonable DIY project once your layout is finalized. Anything tied into your home’s main electrical panel, including outlets near a pool or hot tub, needs a licensed electrician and typically a permit, since code requirements around water and electricity are strict for good reason.
Plan conduit runs while trenches are already open for irrigation lines, since running electrical and irrigation trenches separately doubles the digging for no good reason. Mark planned outlet and fixture locations on your scaled drawing before any concrete or pavers go down, since moving a light fixture after installation usually means breaking into finished hardscape.
What Safety and Accessibility Details Should Your Plan Include?
A layout that looks great on paper can still create real hazards if safety details get skipped. Fire pits need that roughly 10-foot clearance from structures, fences, and overhanging branches, a figure worth double-checking against your local fire code since some jurisdictions require more.
Path width matters for more than comfort. A main path of about 48 inches accommodates two people walking side by side or a wheelchair with room to spare, while a 36-inch secondary path still meets most accessibility guidelines for a single person. If anyone in your household uses a wheelchair or walker, or might in the future, build wider paths and gentle ramp transitions into your plan now rather than retrofitting later.
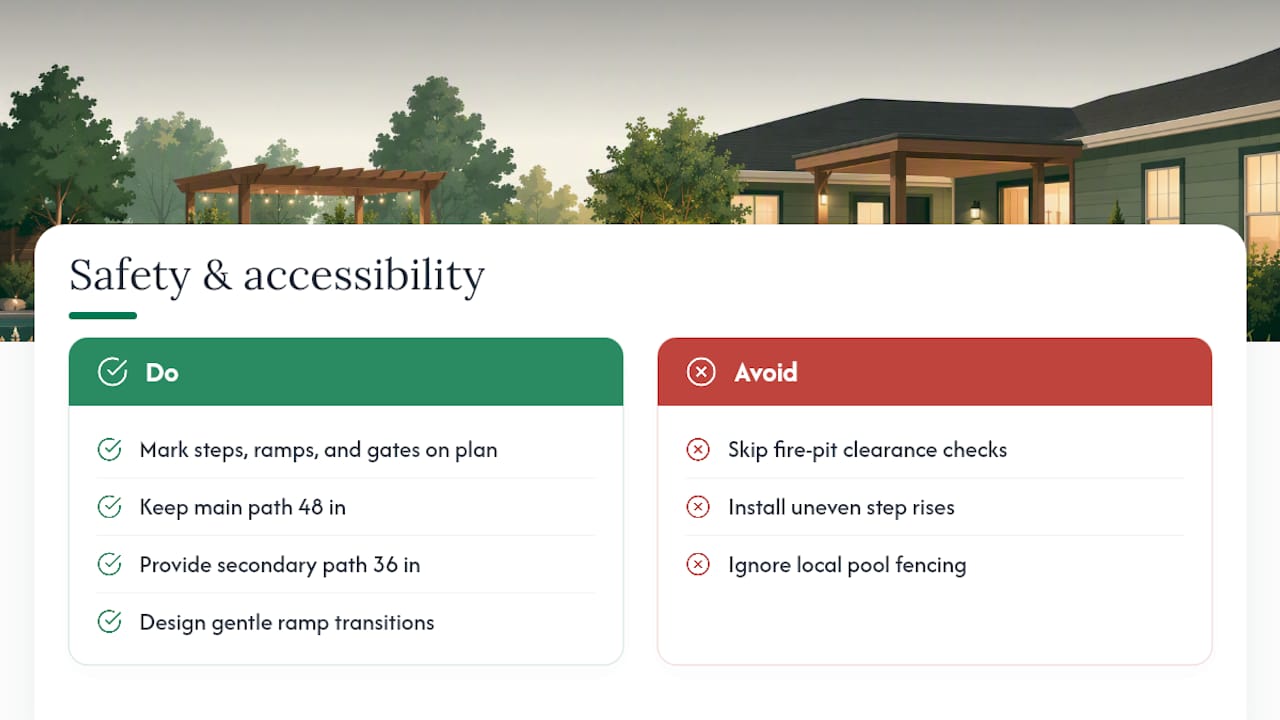
Steps and grade changes need consistent rise and run measurements, since uneven steps are a leading cause of outdoor falls. Pool areas require fencing and self-latching gates in most jurisdictions, and that requirement isn’t optional, it’s a life-safety code matter, so confirm local rules before finalizing pool placement. Mark every step, ramp, and fence gate on your scaled plan so a contractor can verify code compliance before construction starts.
DIY Planning Versus Hiring a Pro: Where the Line Actually Sits
DIY planning works well for layout, zoning, and scope, the decisions that shape how you’ll actually use the yard. Grading, drainage engineering, and structural work like retaining walls or pool excavation are where a professional earns their fee. A scaled plan doesn’t replace that expertise, but it does mean the contractor you hire is bidding on your actual vision instead of guessing at it.
— Christian
Turn Your Backyard Layout Into a Contractor-Ready Estimate
You’ve done the hard part: measured the yard, zoned it, and tested a layout that respects real clearances. The next step is turning that sketch into numbers a contractor can actually bid against, and that’s exactly what Property Improvement Estimator is built for.
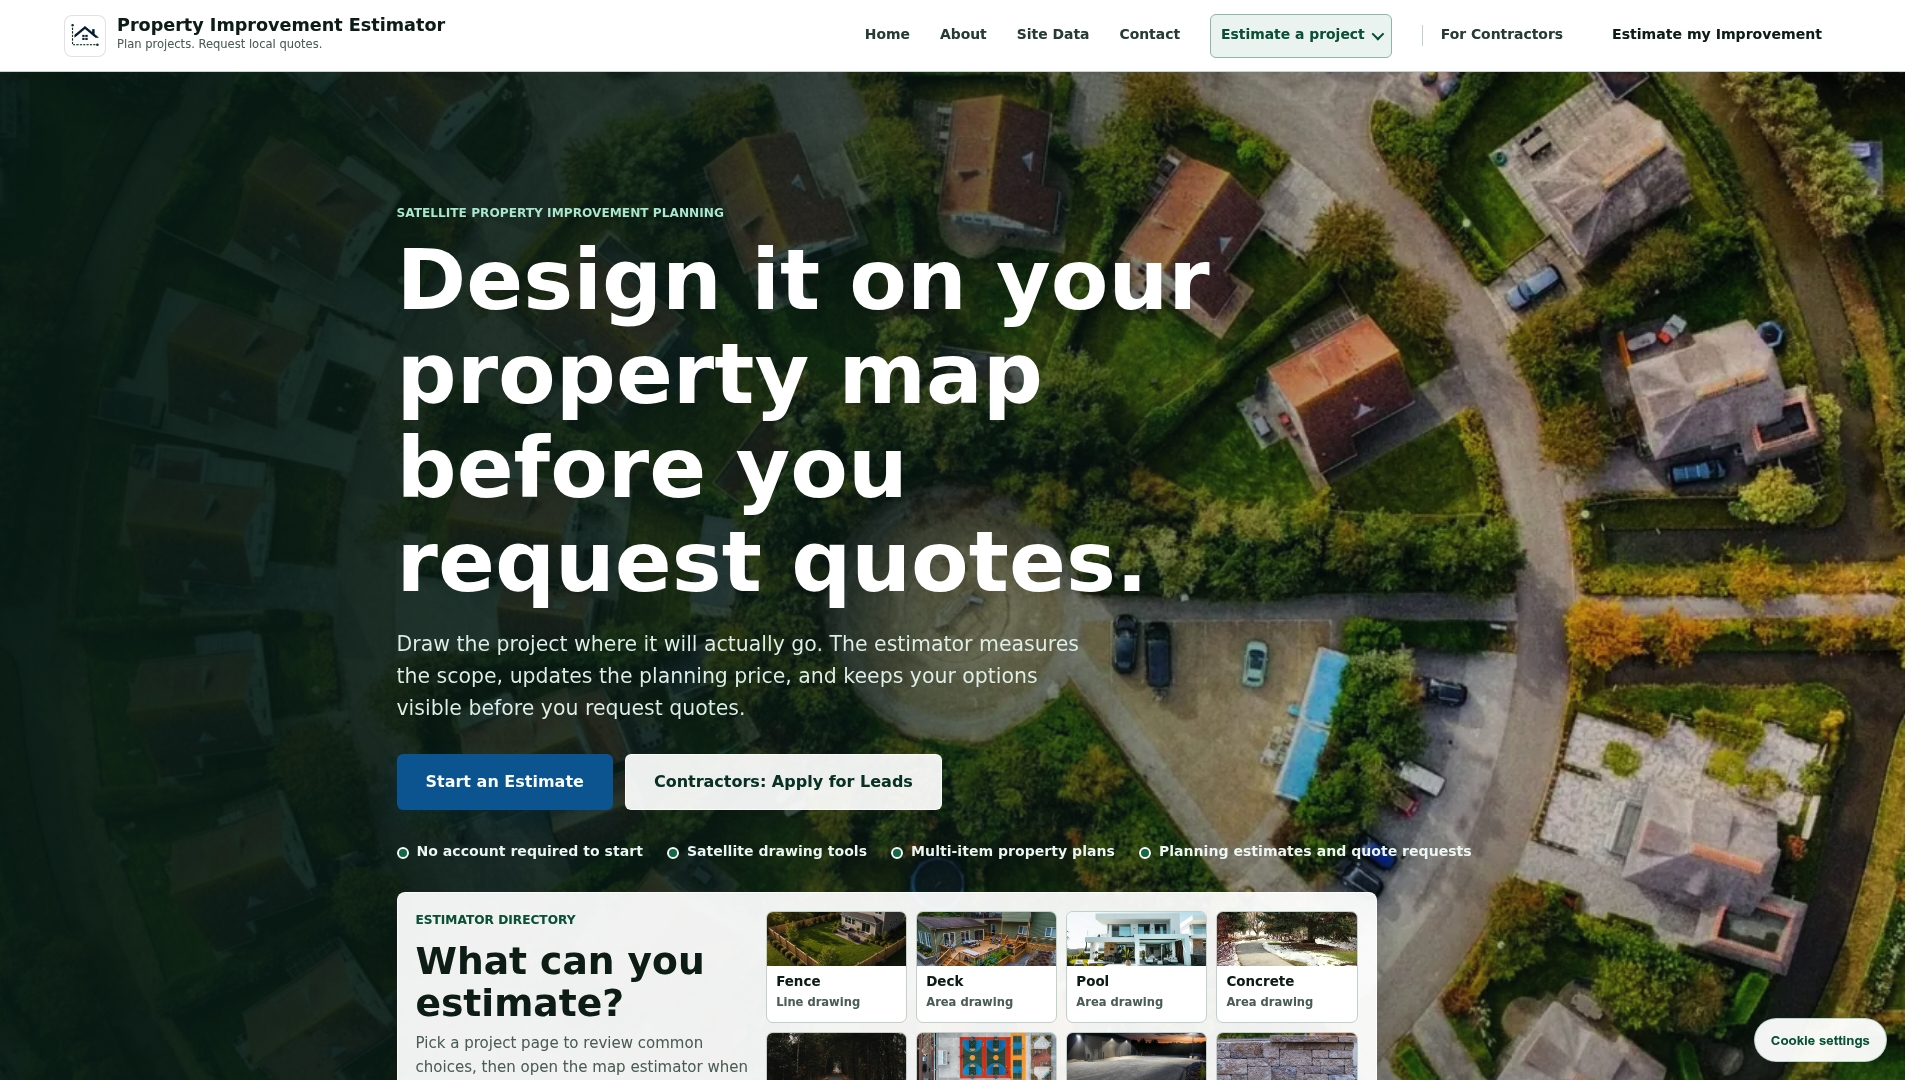
Instead of describing your project over the phone and hoping the quote matches what you meant, you draw the deck, patio, or fence directly onto a satellite image of your own property. The platform gives you an immediate, locally adjusted price range with no account required, then lets you export the drawing and measurements into a packet a contractor can bid against without a site visit just to figure out what you want. If a deck is part of your plan, start with the Deck Estimator to map its footprint and see local pricing before you request a single quote.
Sources
The sizing, zoning, and clearance figures throughout this guide came from a handful of solid references worth revisiting as you finalize your plan: Angi’s patio size guide for sizing benchmarks, OurGardenWorks’ backyard design guide for zoning principles, and SpacePlanner’s backyard planner for working clearances and drainage math.
- Angi — Patio size guide
- OurGardenWorks — Backyard garden design guide
- SpacePlanner — Free backyard planner
- GardenPlanner — Free garden planner
FAQ
Is there a free app for backyard design?
Yes, several free tools exist, ranging from simple 2D sketch apps to map-based planners like GardenPlanner that let you draw scaled zones. Property Improvement Estimator also lets you draw project footprints on your property’s aerial image and get a local price range with no account required.
What is the rule of three in landscaping?
The rule of three generally refers to grouping plants or design elements in odd numbers, usually three, since odd-numbered groupings tend to look more natural than pairs or even rows. It’s a design convention rather than a strict measurement rule, so treat it as a guideline for visual balance, not a hard requirement.
Can AI design my backyard for free?
AI tools can generate rough visual concepts or suggest plant combinations, but they typically can’t measure your actual lot or account for your yard’s real slope and utility lines. A map-based planner that uses your property’s aerial imagery, like Property Improvement Estimator, gives you dimensions you can actually build from rather than a stylized image.
Can ChatGPT design my backyard?
ChatGPT can help brainstorm zoning ideas, plant lists suited to your climate, or a phasing plan for your budget, but it can’t see your yard or draw a scaled layout. Use it for planning conversations and research, then move to a measurement-based tool once you’re ready to draw an actual plan.