6 Steps to Measure in Google Earth for Homeowners and Create Estimates
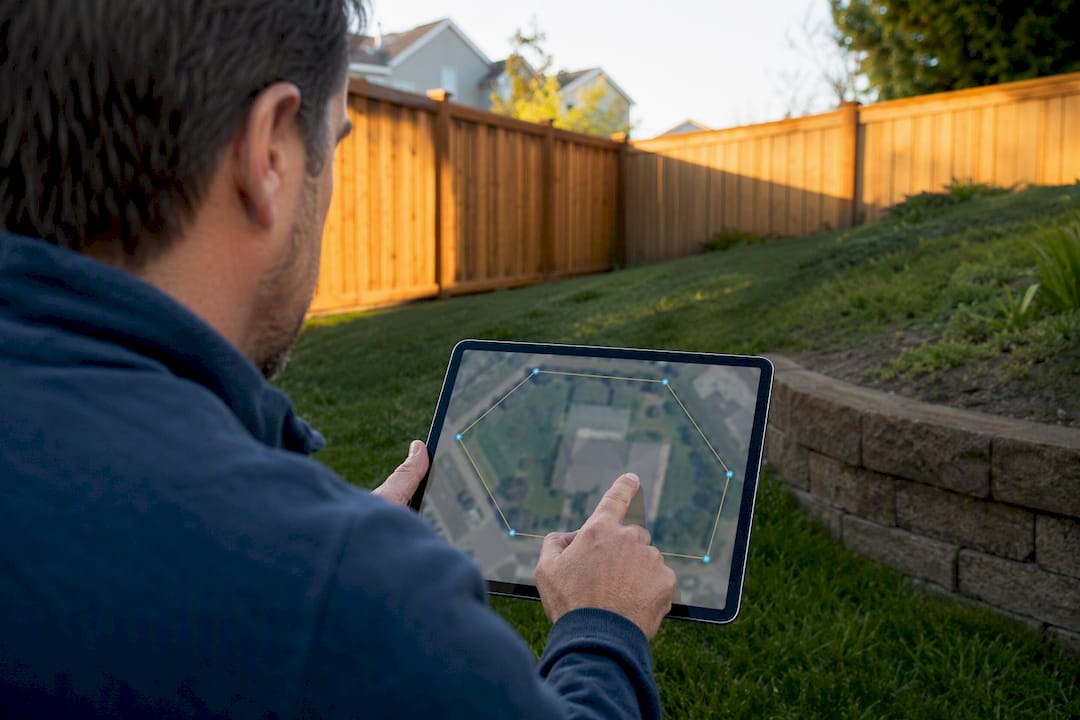
Google Earth’s Measure tool sits in the toolbar on web and mobile (look for the ruler icon) and under Tools > Ruler in Google Earth Pro. Click or tap points to trace a line or shape, and the app shows distance or area instantly. The catch: Google’s own support documentation is clear that these readings are estimates, not survey-grade numbers, especially around hills, trees, and buildings.
TL;DR:
- Google Earth’s measurement tool provides estimates that can be off by several feet due to terrain, vegetation, and imagery date limitations.
- Accuracy improves when measuring along flat, top-down views, and users should add extra points around curves or slopes for better precision.
- Google Earth Pro offers advanced measurement modes, including height, sloped surface length, and elevation profiles, which are more reliable for terrain-related projects.
- For critical applications like permits or boundary disputes, hiring a licensed surveyor remains essential, as Google measurements are rough estimates.
- Always verify measurements on-site with a tape measure or wheel and keep in mind that the tool’s units and terrain data can be adjusted for better planning accuracy.
Table of Contents
- How Do You Measure Distance in Google Earth?
- How Do You Change Units or Fix a Measurement?
- When Should You Use Google Earth Pro for 3D or Elevation Measurements?
- How Accurate Is Google Earth’s Measurement Tool?
- What’s the Best Workflow for Measuring a Property for a Home Project?
- What I’d Tell a Homeowner Before They Start Measuring
- From Sketch to Estimate: What Comes After You Measure
- Where to Verify These Steps Yourself
- Sources
How Do You Measure Distance in Google Earth?
The steps are nearly identical on web and mobile, which is a nice change from most Google tools that behave differently on every device.
On the web (earth.google.com/web):
- Open Google Earth and navigate to your location.
- Switch to a top-down view. Tilted angles distort distance and area readings.
- Click the Measure icon in the left toolbar (it looks like a ruler).
- Click your starting point, then click again for each additional point along the line or shape you want to trace.
- Double-click, or click Done, to finish. Results appear in a panel showing total distance or enclosed area.
On mobile (Android/iOS):
- Open the Google Earth app and find your location.
- Tap the Measure icon (usually in the menu or toolbar, depending on your device).
- Tap Add point for each vertex. Use Undo if you misplace one.
- Tap Close shape if you’re measuring area, or leave it open for a simple distance line.
- Tap Done. Distance or area shows at the bottom of the screen.
Google confirmed the Measure tool’s rollout across Chrome, Android, and iOS back in 2018, so functionality has been consistent across platforms for years. You can start a new measurement anytime by tapping the Measure icon again, and most versions let you pick units before you even begin tracing.
How Do You Change Units or Fix a Measurement?
Mistakes happen. Maybe you clicked the wrong corner of the yard, or you need feet instead of meters for a contractor quote. Google Earth’s editing options are limited but functional.
- Use Undo immediately after placing a point to remove it without restarting.
- Drag an existing point to reposition it if your shape needs adjusting.
- Add a vertex mid-line to smooth out a curve or follow an irregular property boundary more closely.
- Switch units through the dropdown menu in the measurement results panel, or check Settings > Units for a permanent default.
- Save a measurement by naming it before closing the panel, or clear it entirely to start fresh.
Pro Tip: Add extra points along any curved edge, like a pool perimeter or a winding driveway. Fewer, longer segments cut corners literally, and that shaves real footage off your total length.
When Should You Use Google Earth Pro for 3D or Elevation Measurements?
Google Earth Pro (the free desktop version, not the browser app) adds measurement modes the web version doesn’t have. If your project involves height, slope, or vertical surfaces, Pro is worth the download.
- 3D Path mode measures distance along a sloped or vertical surface, useful for fence lines on uneven ground or roof edges.
- 3D Polygon mode calculates area across a non-flat surface, which matters for anything on a slope, from a backyard terrace to a hillside garden bed.
- Elevation profile (“Show elevation profile”) plots the rise and fall along any path you draw, handy for grading or drainage planning.
- If elevation reads zero, turn on the Terrain layer. A flat “0” almost always means Terrain is switched off, not that your land is actually flat.
Developer documentation also notes that Google Earth generates advanced terrain statistics, including minimum, median, and maximum elevation and slope for any path or polygon you draw in Pro. That’s genuinely useful data for grading questions, but it still comes from the same underlying terrain model as everything else, meaning it inherits the same resolution limits.
How Accurate Is Google Earth’s Measurement Tool?
Not survey-grade, and Google says so directly. Its help documentation states plainly that measurements may not be 100% accurate, particularly in areas with 3D terrain and buildings.
Why measurements drift: Google Earth builds its map from satellite and aerial imagery captured on different dates, stitched together with a terrain model that has gaps and generalizations. A steep slope, a dense tree canopy, or an outdated image can throw off a distance reading by several feet, and area calculations compound that error since they multiply length by width.
Three factors drive most of the inaccuracy:
- Imagery age. Some regions haven’t been re-photographed in years, so a new fence, addition, or regraded lot won’t show up.
- Terrain data gaps. Flat-looking software can hide real elevation change, which skews both distance and area on sloped lots.
- Projection distortion. Measuring across a very large area introduces small mapping errors that don’t matter for a backyard but do matter for acreage.
If you’re pulling permits, settling a property line dispute, or ordering enough material for zero-margin-for-error work, hire a licensed surveyor. For planning, budgeting, and rough layout, Google Earth is more than good enough.
What’s the Best Workflow for Measuring a Property for a Home Project?
Here’s a sequence that keeps errors small and your numbers usable when you’re ready to talk to a contractor.
- Check the imagery date (usually in the bottom corner of the screen) so you know how current your reference is.
- Switch to a straight-down view before you trace anything. Angled views distort both distance and area.
- Trace the perimeter with extra vertices, especially around curves, gates, or irregular corners.
- Save and name the measurement so you can find it again without redrawing.
- Screenshot the result or export the coordinates, keeping the units visible in the image.
- Verify critical dimensions on-site with a tape measure or measuring wheel before ordering materials or locking in a contractor’s scope.
Google Earth Pro earns its place in this workflow the moment slope or height enters the picture. Its 3D path and polygon tools handle a sloped backyard more reliably than the flat web version, and pairing that with an onsite check keeps your numbers honest.
Pro Tip: When measuring a fence line, don’t just click each corner and call it done. Walk the actual line in your head first, and place a point anywhere the terrain dips or rises, even slightly. That single habit fixes most of the “why doesn’t this match my tape measure” complaints homeowners run into.
For a project like a new fence, this workflow pairs naturally with a fence estimate calculator that turns your traced perimeter into a materials estimate. A quick handoff package for any contractor should include your saved measurement file, a screenshot with visible coordinates, and a short note that the numbers are planning-grade estimates, not a survey.
What I’d Tell a Homeowner Before They Start Measuring
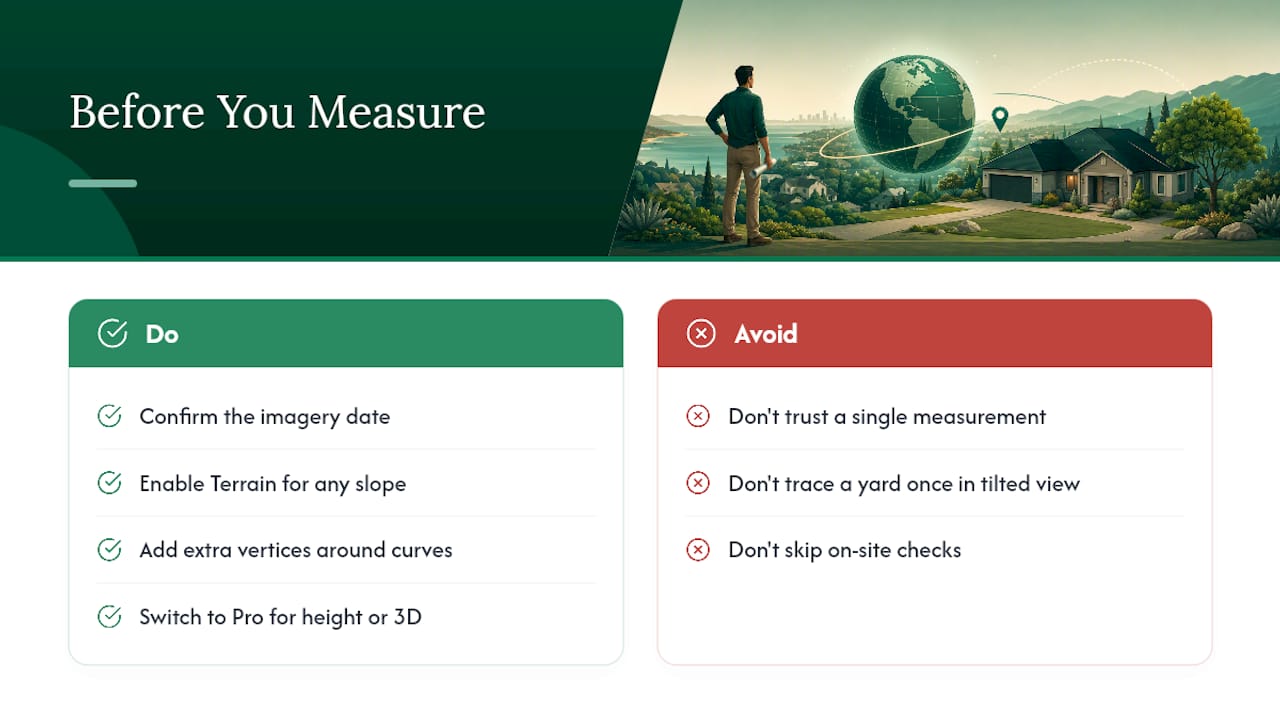
For routine property planning, Google Earth is genuinely the right tool. It’s free, fast, and good enough for anything short of a permit application or a boundary dispute. The mistake I see most often isn’t using the tool wrong; it’s trusting a single measurement too much. A yard traced once in a tilted view and never checked against reality is how homeowners end up short on fence panels or over budget on concrete.
Before you finalize anything, run this checklist: confirm the imagery date, enable Terrain if there’s any slope, add extra vertices around curves, switch to Pro for height or 3D work, and always double-check one or two critical dimensions on-site. That last step alone catches most of the errors that matter.
— Christian
From Sketch to Estimate: What Comes After You Measure
Once you’ve traced your property in Google Earth, the next problem is turning that sketch into real numbers, and that’s exactly the gap Propertyimprovementestimator closes. Instead of guessing at square footage or emailing a rough estimate to five contractors, you redraw or import your measured shapes directly onto a satellite map, add dimensions, and get a localized cost approximation built around the project’s actual size and site.
That specificity is the whole point. A generic online calculator can’t account for the shape of your lot or how far a fence line runs around a pool. A site-specific sketch can. Homeowners get clearer quotes, fewer surprise change orders, and a package contractors can bid on without a site visit just to figure out what you’re asking for. If your next project involves outdoor lighting, you can start by mapping fixture locations and wiring runs with the outdoor lighting estimator, or head to the main planning tool to sketch out whatever’s next on your list.
Where to Verify These Steps Yourself
For the exact steps and current interface details, go straight to Google’s official measurement guide, the Pro elevation and 3D measurement page, and the developer documentation on terrain statistics. For a broader comparison of Earth versus Maps for measuring, this practical walkthrough is worth a read. If you’re weighing a professional 3D visualization for a larger landscape project, this overview of landscape CGI explains how elevation data factors into that process too.
Sources
- Measure distances and areas in Google Earth - Computer
- Measure distances and areas | Google Earth | Google for Developers
- Introducing the Measure Tool for Google Earth on Chrome, Android and iOS