Landscape Lighting Voltage: What to Use and Why
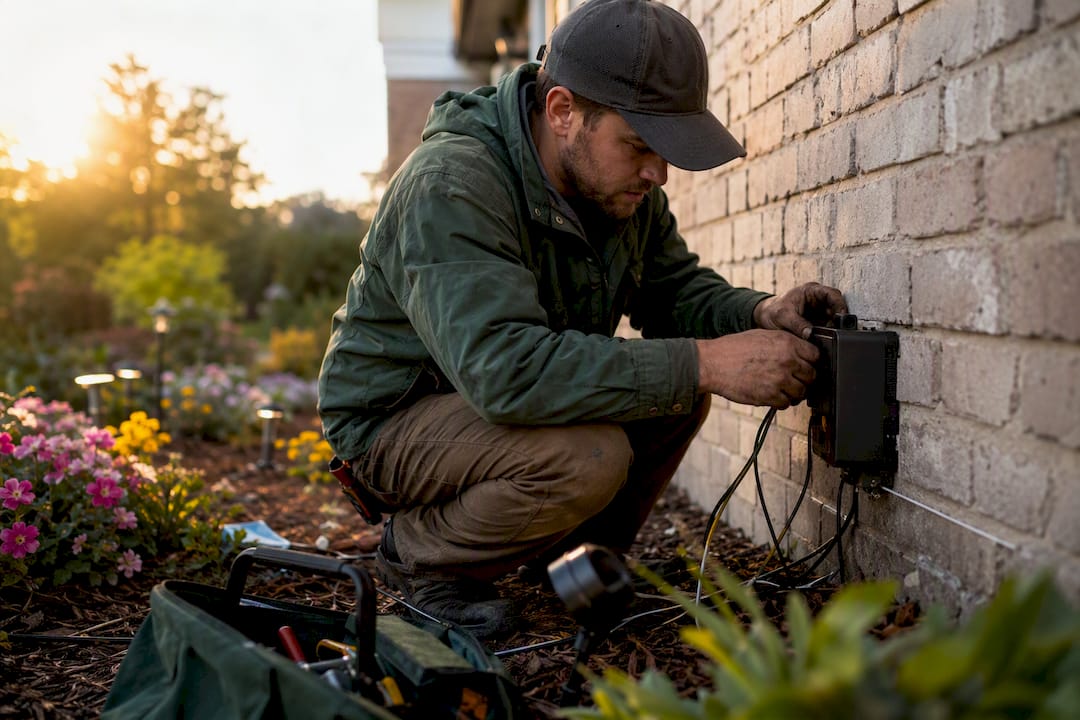
Use low-voltage (12V AC) systems for nearly all residential landscape lighting. They’re safer around bare hands and curious kids, they’re DIY-friendly, and they pair naturally with modern LED fixtures. The exceptions are large security floodlights or fixtures already tied to an existing 120V circuit, and those jobs belong to a licensed electrician. Everything else, from transformer sizing to wire gauge, follows from that one decision.
TL;DR:
- Using 12V AC low-voltage systems improves safety, simplifies DIY installation, and is compatible with most modern LED fixtures for residential landscape lighting.
- Employ 12, 14, or 16 AWG wire gauges depending on run length and fixture wattage, and plan shorter, separate runs to reduce voltage drop and maintain consistent brightness.
- Bury low-voltage wiring 6 to 12 inches deep, always cut power before making connections, and use weatherproof burial-rated connectors for reliability.
- Draw your layout on satellite images using a site-specific estimator tool to accurately plan wire lengths, fixture placement, and permit costs before buying materials.
Table of Contents
- Landscape Lighting Voltage Options: Low-Voltage, Line-Voltage, and AC vs DC
- Transformers and Tap Voltages: 12V vs. 15V Explained
- Wire Gauge, Run Length, and Voltage Drop: Getting the Numbers Right
- Sizing Your Transformer: The 80% Rule and Room to Grow
- Installation Safety and Code Basics You Need to Know
- Layout Strategy: Hub-and-Spoke Wiring and Fixture Placement
- How Property Improvement Estimator Helps at the Planning Stage
- What I’d Tell a Neighbor Planning This Project
- Turn Your Lighting Plan into Real Numbers
- Sources
Landscape Lighting Voltage Options: Low-Voltage, Line-Voltage, and AC vs DC
Most homeowners only need to understand two categories. Low-voltage systems run at 12V AC, stepped down from your home’s 120V household current through a transformer. Line-voltage systems run at the full 120V AC directly from your electrical panel, the same voltage powering your kitchen outlets.
Low-voltage wins for residential yards for several concrete reasons, and low-voltage 12V AC systems minimize shock hazard and allow shallow burial compared to their 120V counterparts:
- A shock from a damaged 12V cable is rarely dangerous, while 120V cable damage can be lethal.
- Low-voltage cable can sit closer to the surface than line-voltage conduit, cutting trenching work.
- Most homeowners can install, move, and troubleshoot 12V fixtures without a permit or an electrician.
- LEDs, which now dominate the fixture market, run efficiently at 12V and don’t need the higher voltage older halogen bulbs sometimes wanted.
Line-voltage still has a place. High-output security floods, large architectural uplights on commercial buildings, and anything wired into a dedicated 120V circuit fall into this category, and that work requires a licensed electrician because it touches your main electrical panel. You’ll occasionally see 24V systems in commercial landscape work, but for a typical home, 12V AC remains the practical standard because nearly every residential fixture on the market is built around it.
Transformers and Tap Voltages: 12V vs. 15V Explained
A transformer’s only job is stepping your home’s 120V down to a safe 12V (or close to it) for your fixtures. Get the transformer wrong and everything downstream, wire gauge, fixture count, brightness, suffers.
You’ll run into two basic types:
- Single-tap transformers output one fixed voltage, usually 12V. They’re simpler and cheaper, and they work fine for small, compact layouts where voltage drop isn’t a major concern.
- Multi-tap transformers offer several output taps, often 12V and 15V, so you can compensate for voltage drop on longer runs by feeding certain runs a higher starting voltage.
The 15V tap exists mostly as a holdover from halogen-era lighting, where fixtures were more sensitive to voltage swings and installers used the higher tap to offset drop over distance, as multi-tap transformers with 12V and 15V options address these voltage-drop and legacy compatibility needs. Modern LED fixtures tolerate a wider voltage range, so the extra tap matters less than it used to, but it’s still useful insurance on a property with one unusually long run. When shopping, match the transformer’s total capacity to your planned fixture wattage, and look for one with a built-in timer or photocell if you want the system to turn on and off automatically without a smart plug.
Wire Gauge, Run Length, and Voltage Drop: Getting the Numbers Right
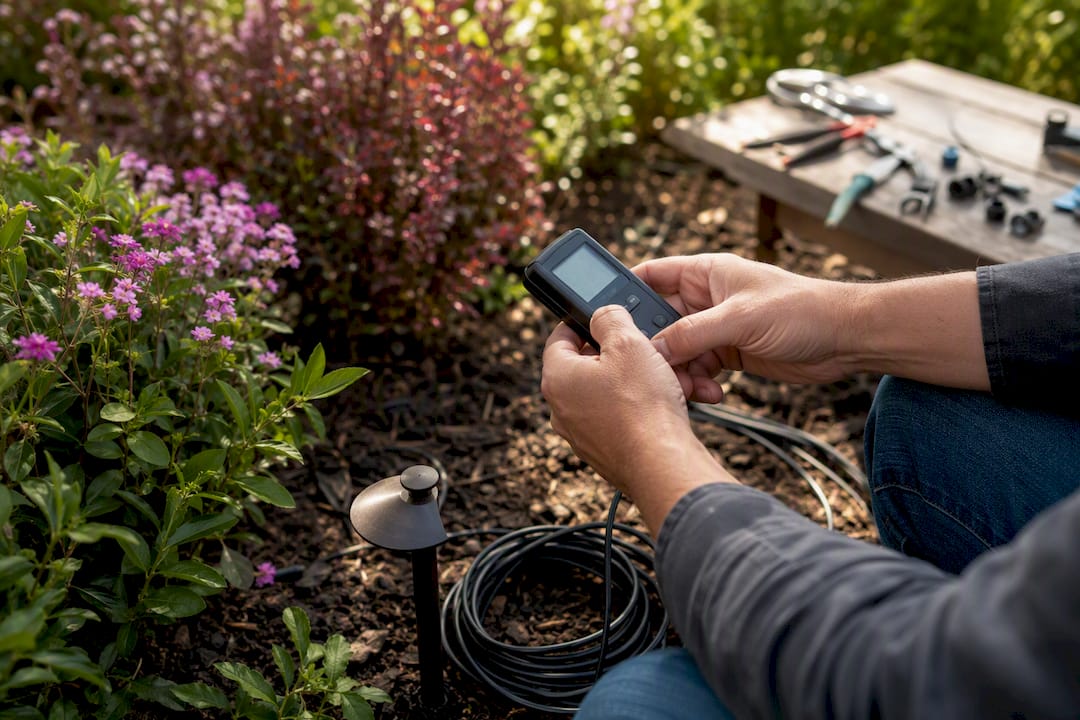
Voltage drop is what happens when a fixture at the far end of a long run receives noticeably less voltage than one near the transformer. The visible result is dimming or a warm, weak glow at the far fixtures compared to the crisp ones near the source. It’s a wiring problem, not a fixture defect, and it’s entirely preventable with the right wire gauge.
Here’s a practical starting point for gauge selection:
- 16 AWG works only for very short runs with a handful of low-wattage LED fixtures, think a dozen feet and three or four lights.
- 14 AWG handles moderate runs, roughly 50 to 100 feet depending on total wattage.
- 12 AWG is the sensible baseline for most residential jobs. Using 12 AWG as a baseline reduces voltage drop over longer runs and simplifies future expansion, even on runs where 14 AWG might technically suffice.
- 10 AWG earns its place on very long runs, over 100 feet, or where you’re feeding higher-wattage fixtures like large uplights.
The other lever, beyond gauge, is layout. A single long daisy-chain, where fixtures wire one after another in a line, concentrates voltage drop at the far end. Splitting that same fixture count into two or three shorter runs radiating from the transformer, or adding a second transformer on a large property, keeps every fixture within a tighter voltage window.
Pro Tip: Before buying wire, sketch your fixture layout and measure actual run lengths rather than guessing. A voltage-drop calculator takes those measurements and tells you the exact gauge you need. The outdoor lighting estimator lets you draw your runs on a satellite map of your own property, so the length numbers feeding that calculation are real, not estimated.
Sizing Your Transformer: The 80% Rule and Room to Grow
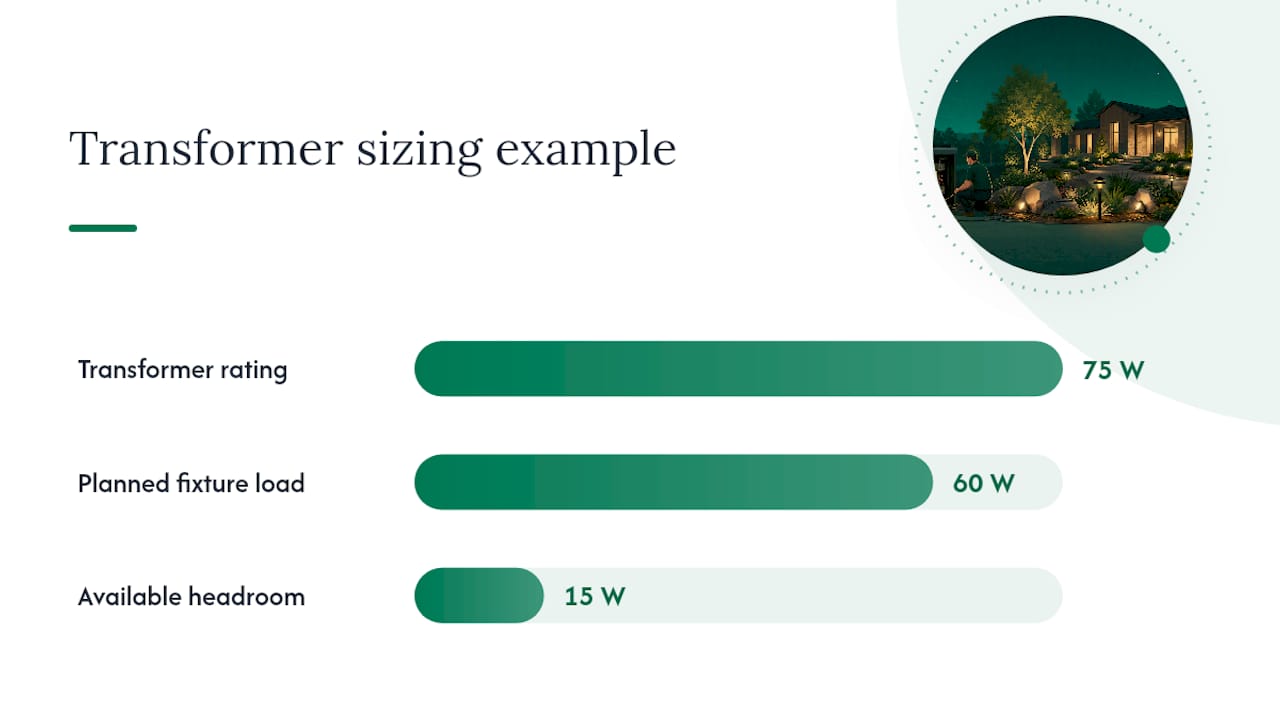
Start by adding up the actual wattage of every fixture you plan to install, using the wattage printed on the LED fixture itself, not an older halogen-equivalent number. That total is your baseline load.
From there, apply the industry-standard sizing rule: manufacturers recommend sizing transformers with headroom, commonly following an 80% rule rather than loading a transformer to its rated maximum. In practice:
- If your fixtures total 60 watts, look for a transformer rated around 75 watts or more, not one rated exactly at 60.
- Running a transformer near 100% capacity continuously shortens its life and leaves zero room for adding fixtures later.
- On larger properties, two smaller transformers zoned around the yard often outperform one oversized unit, since each handles a shorter set of runs.
That headroom isn’t wasted capacity. It’s what lets you add three path lights next spring without buying a whole new transformer.
Installation Safety and Code Basics You Need to Know
Low-voltage wiring is genuinely DIY-friendly, but it isn’t code-free. NEC Article 411 requires GFCI protection on the transformer’s primary side, the point where it plugs into your 120V household power. That single requirement covers the highest-risk part of the system; the 12V side downstream is inherently low-hazard by comparison.
Beyond that baseline, a few practical rules keep the system reliable for years:
- Bury low-voltage cable roughly 6 to 12 inches deep, deep enough to avoid mower blades and casual digging, shallow enough that you don’t need a trencher.
- Cut power at the transformer before touching any connection, every time, even on a “simple” fixture swap.
- Use weatherproof, gel-filled connectors rated for direct burial rather than standard wire nuts and electrical tape.
- Call a licensed electrician for anything involving a new 120V circuit, line-voltage fixtures, or conduit and raceway work.
If your plan involves trenching near existing utility lines, a resource like this contractor field guide on locating underground utilities is worth a read before you break ground; the permit cost calculator can also help you budget for electrical work if part of your project crosses into line-voltage territory.
Layout Strategy: Hub-and-Spoke Wiring and Fixture Placement
Voltage-related flickering or dimming almost always traces back to layout, not defective fixtures. Experienced installers favor a hub-and-spoke layout over one long daisy-chain, running several shorter cable “spokes” out from the transformer instead of stringing every fixture along a single line.
A few placement and hardware notes that save headaches later:
- Path lights typically sit 6 to 8 feet apart; spacing them tighter creates a runway effect rather than gentle pooled light.
- Spotlights and floodlights for trees or facades work best aimed at a slight angle rather than straight up, which reduces glare.
- Use crimp connectors or waterproof clamp-style connectors rated for outdoor burial at every splice.
- Mount the transformer somewhere sheltered and easy to reach, a garage wall or covered patio post, since you’ll be adjusting it as the system grows.
How Property Improvement Estimator Helps at the Planning Stage
Guessing at run lengths and fixture totals is how voltage-drop problems start. Property Improvement Estimator lets you draw your actual fixture layout on a satellite map of your property, then totals wire runs, fixture wattage, and even permit costs from those real measurements, giving you numbers you can hand straight to a contractor for a tighter, more accurate quote.
What I’d Tell a Neighbor Planning This Project
Put the transformer somewhere you can reach easily, because you’ll want to add fixtures later, and that’s a good problem to have.
— Christian
Turn Your Lighting Plan into Real Numbers
Reading about wire gauge and transformer sizing only gets you so far, at some point you need actual numbers tied to your actual yard. Property Improvement Estimator’s outdoor lighting estimator lets you draw fixture placement, wire runs, and transformer location directly on a satellite view of your property, then totals the wattage, wire length, and estimated material and labor costs behind your design.

That specificity matters when you’re comparing DIY costs against a contractor bid, or when you want a quote that reflects your actual layout instead of a generic per-fixture guess. If your project might cross into line-voltage or permit territory, the permit cost calculator breaks down what electrical compliance work typically adds to the bottom line. Map your yard and get a site-specific estimate before you buy a single fixture or spool of wire.
Sources
- Low Voltage vs. Line Voltage Outdoor Lighting: 7 Key Facts
- How to Choose the Best Landscape Lighting for Your Home & Yard | VOLT® Lighting
- How to Wire Landscape Lighting: Complete Step-by-Step Guide | Big Irrigation Supply